Create a selection menu in Valkyrie
In this guide you will learn how to create a selection menu using a DataTable and Primitives Valkyrie entities. The menu will consist of 5 buttons and a highlight that will move around
the last clicked button.
It is recommended to be familiar with the following elements before starting this tutorial:
- Creating a User Interface Layer
- Understanding Object hierarchies
- Understanding DataTables
Download the template file below in order to manipulate the software while reading this tutorial:
Vlk Project Download
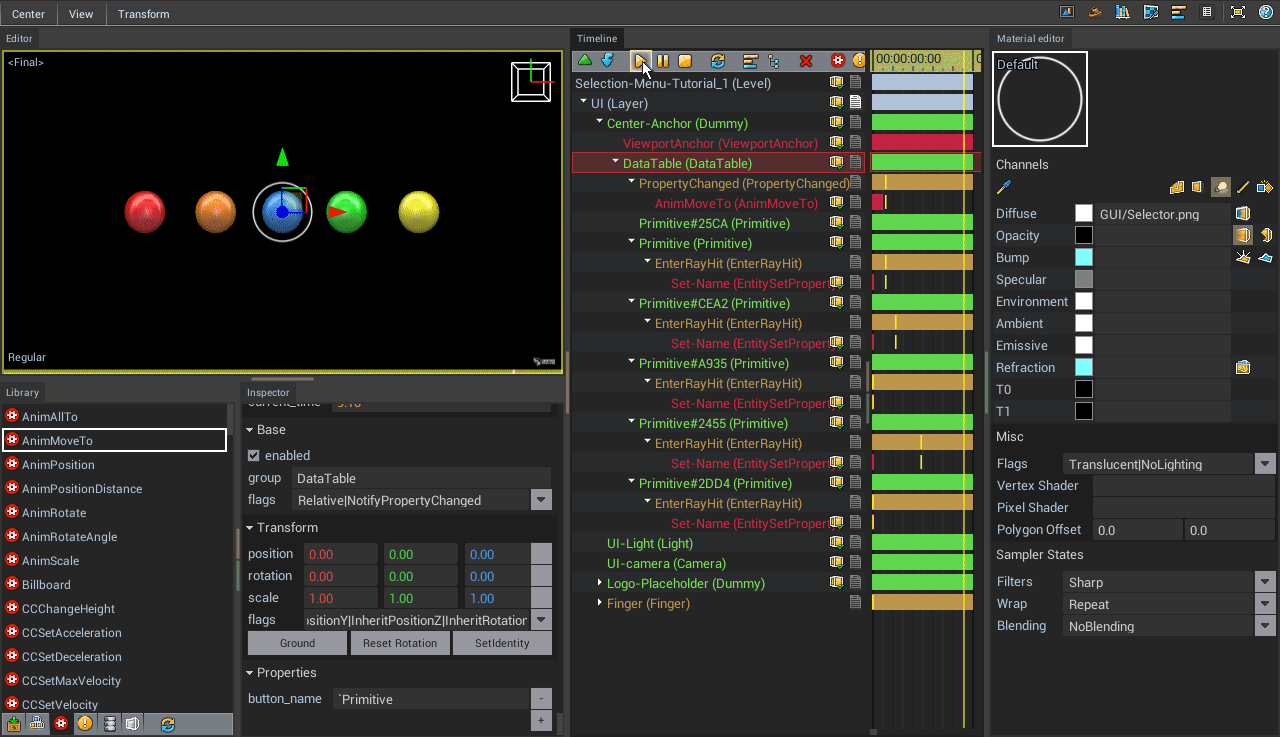
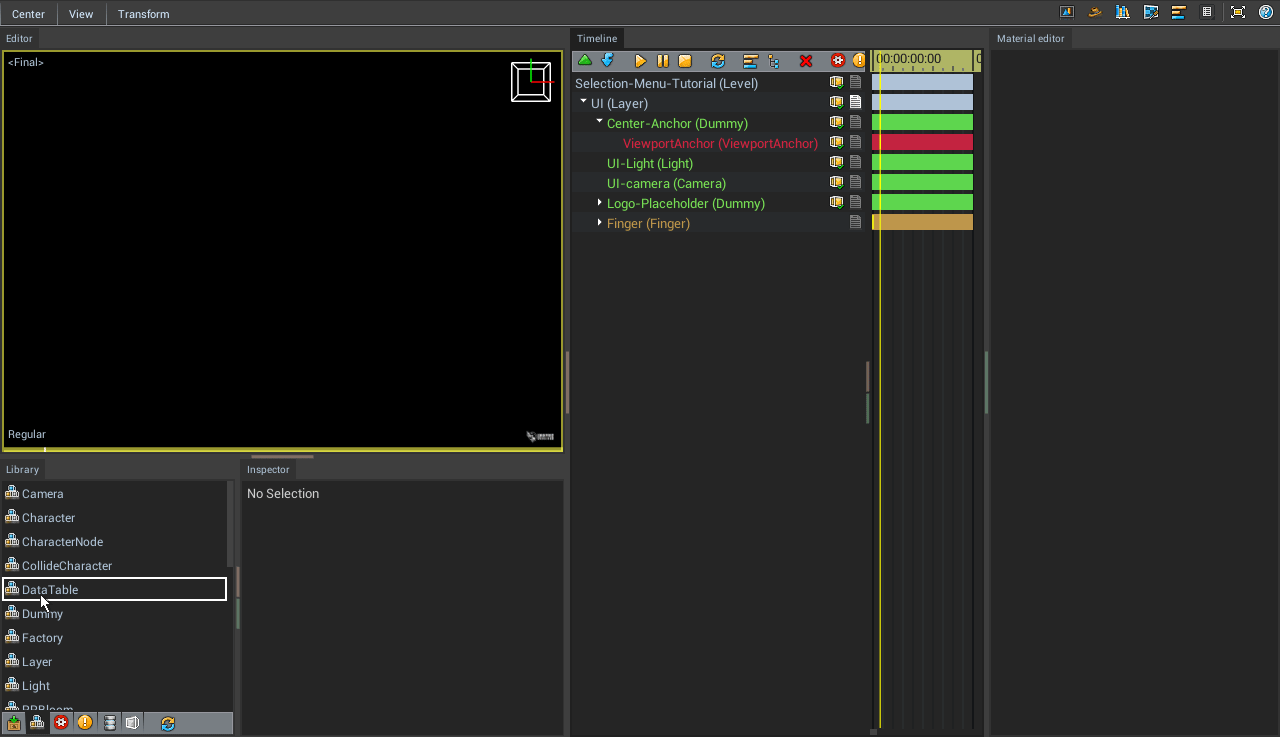
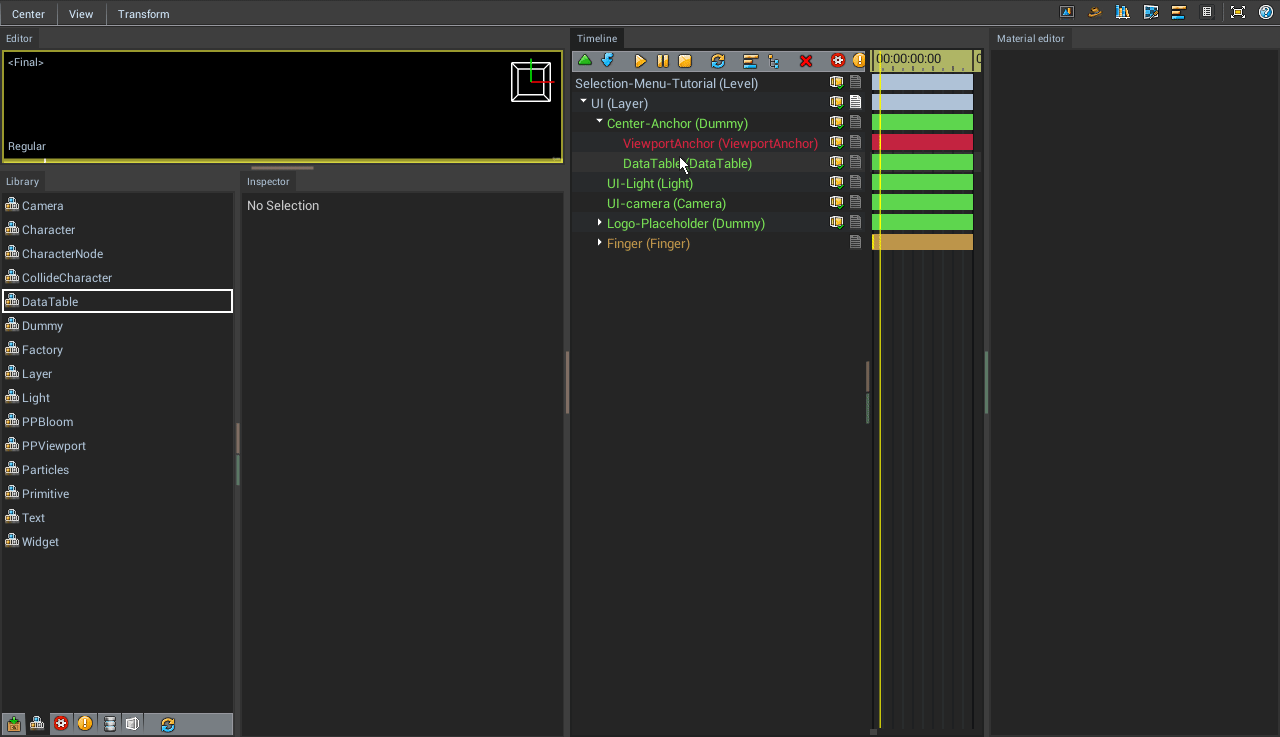
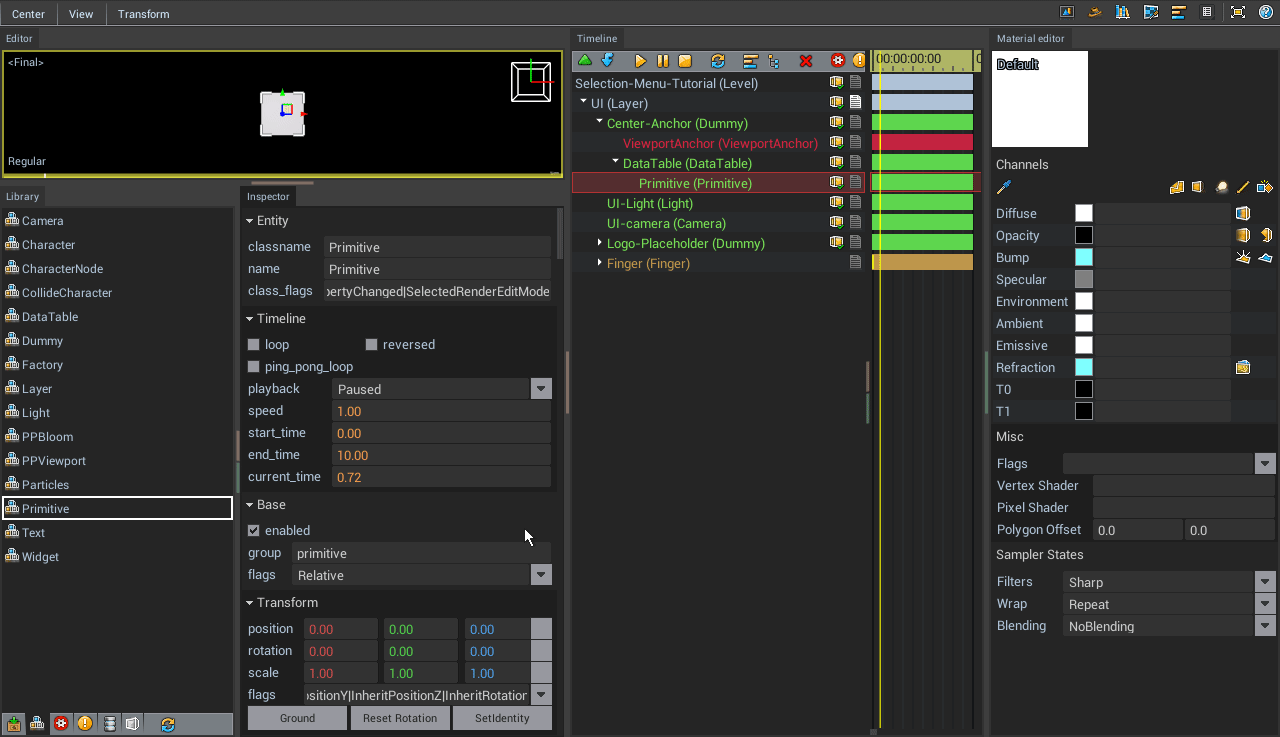
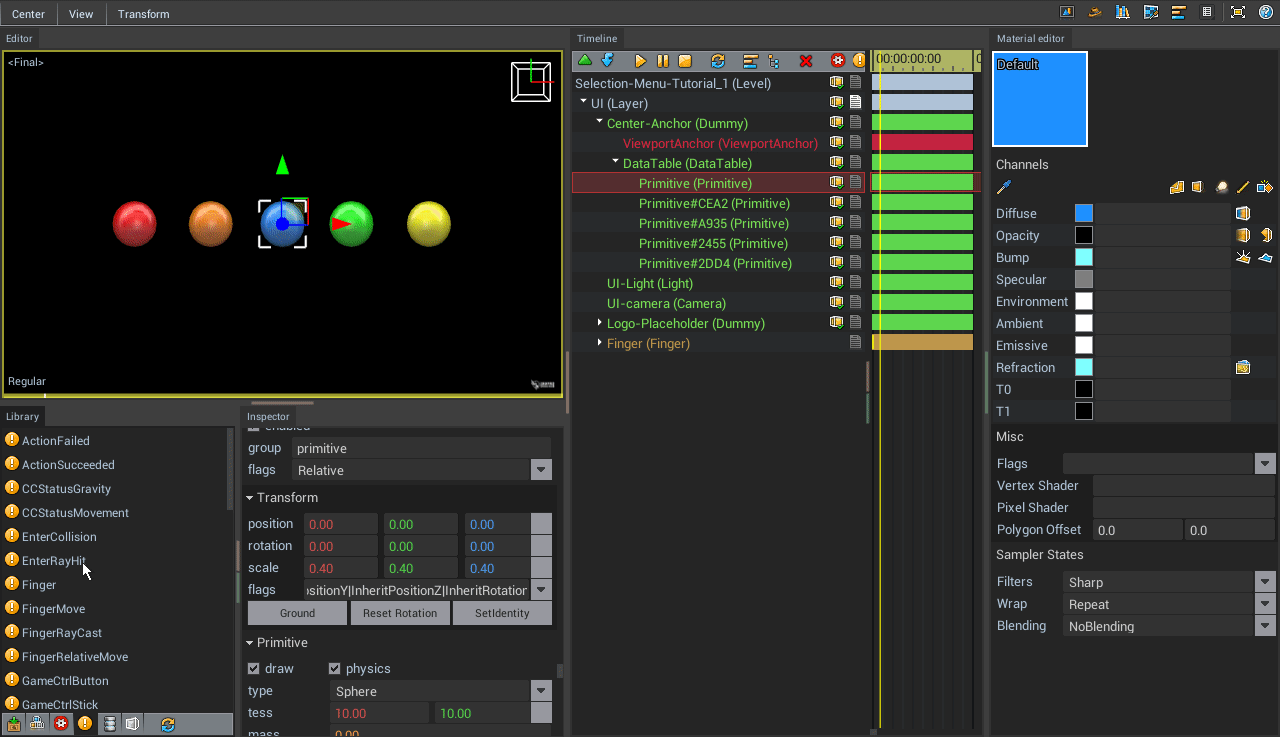
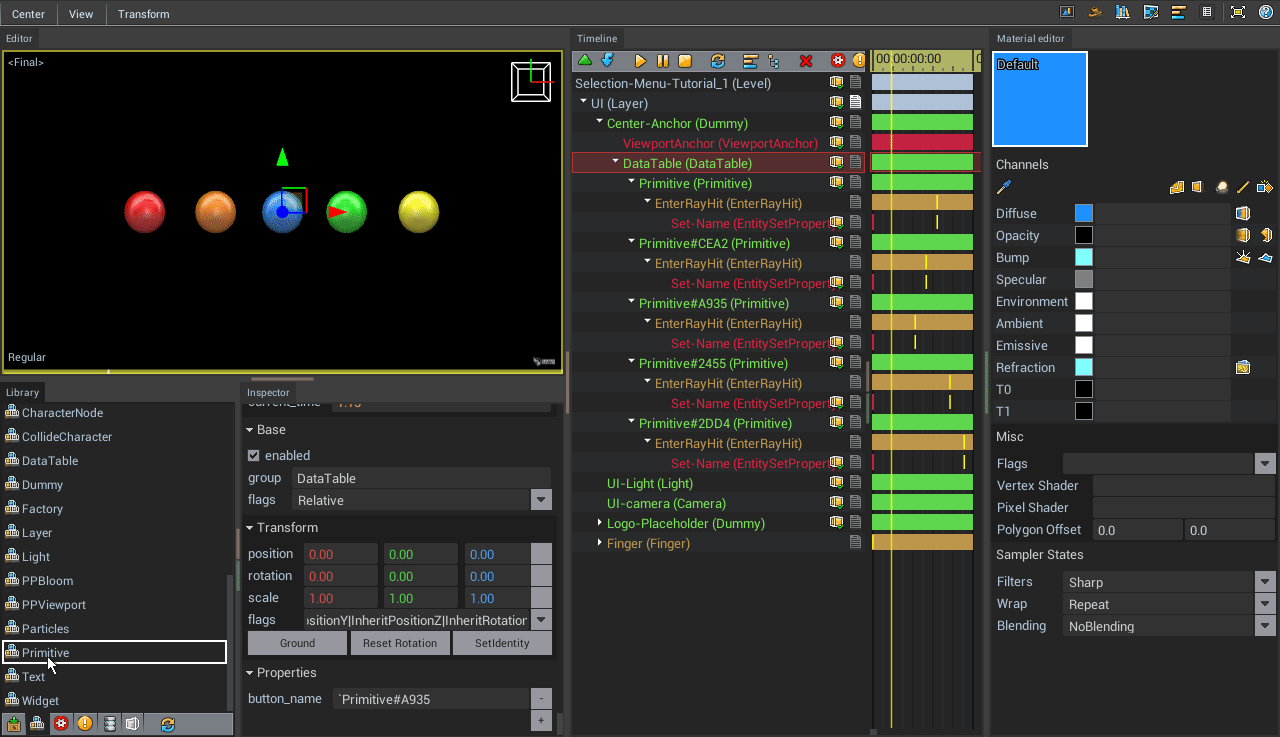
In the Entity Library, Drag & Drop a DataTable into the Center-Anchor Dummy.
 The position of this Dummy object is controlled by the ViewportAnchor action and is configured to be at the center of the screen.
Now we need to make the DataTable relative to its parent object (Center-Anchor) & center it.
- Click on the DataTable in the timeline.
- In the inspector, turn on the Relative flag.
- Click on SetIdentity to move the DataTable to the same position as its parent object (Center-Anchor).
The next step is to create our buttons.
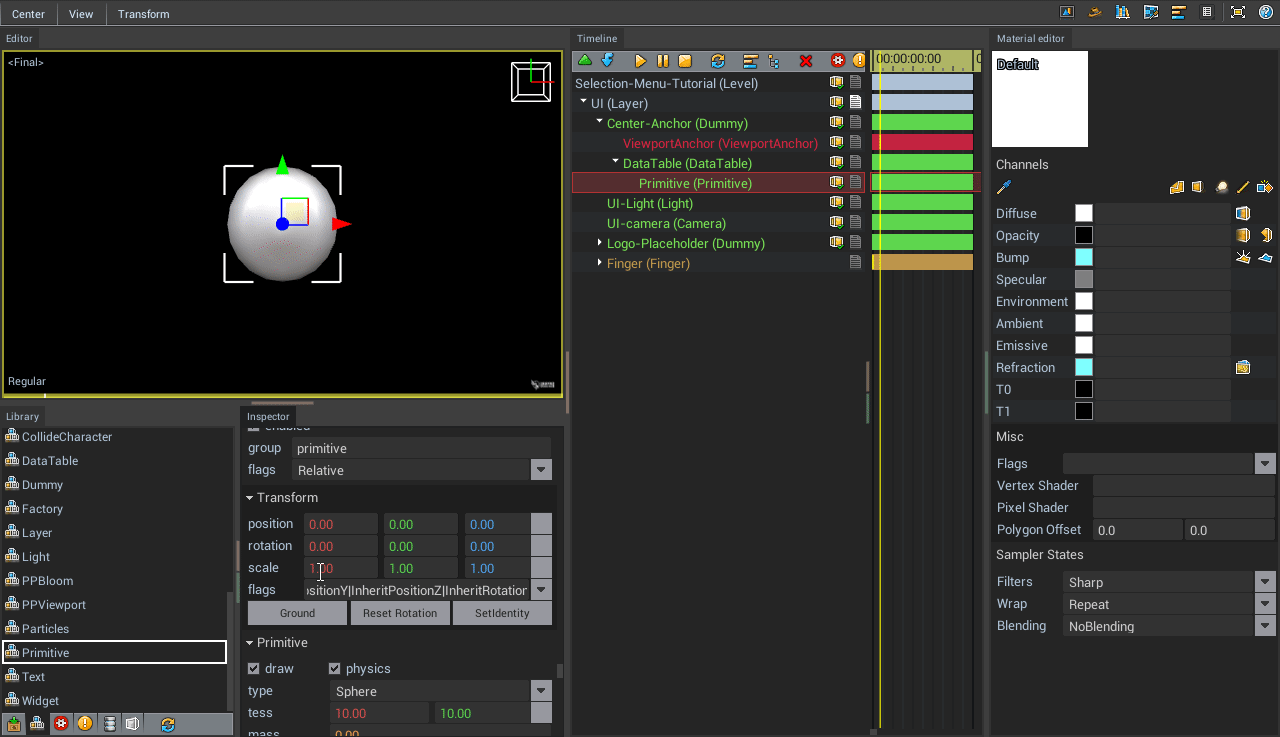
In the Entity Library, Drag & Drop a Primitive into the DataTable and turn on the Relative flag.
The default shape of a primitive is a Box.
In this tutorial we will change the shape to a Sphere.
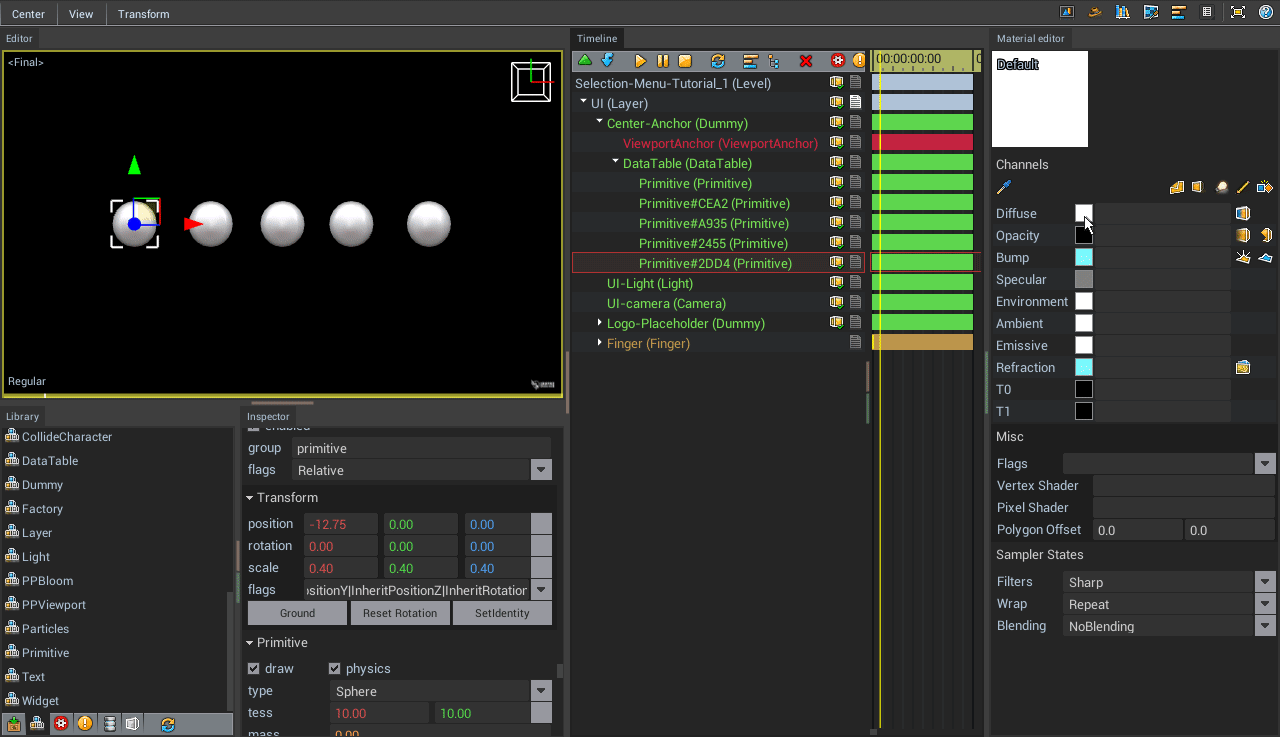
We are going to create 5 buttons but as you can notice the first one is quite big so we'll make it smaller.
Click on the Primitive and change its scale to 0.4.
Let's copy this primitive 4 times.
And give them a different colors
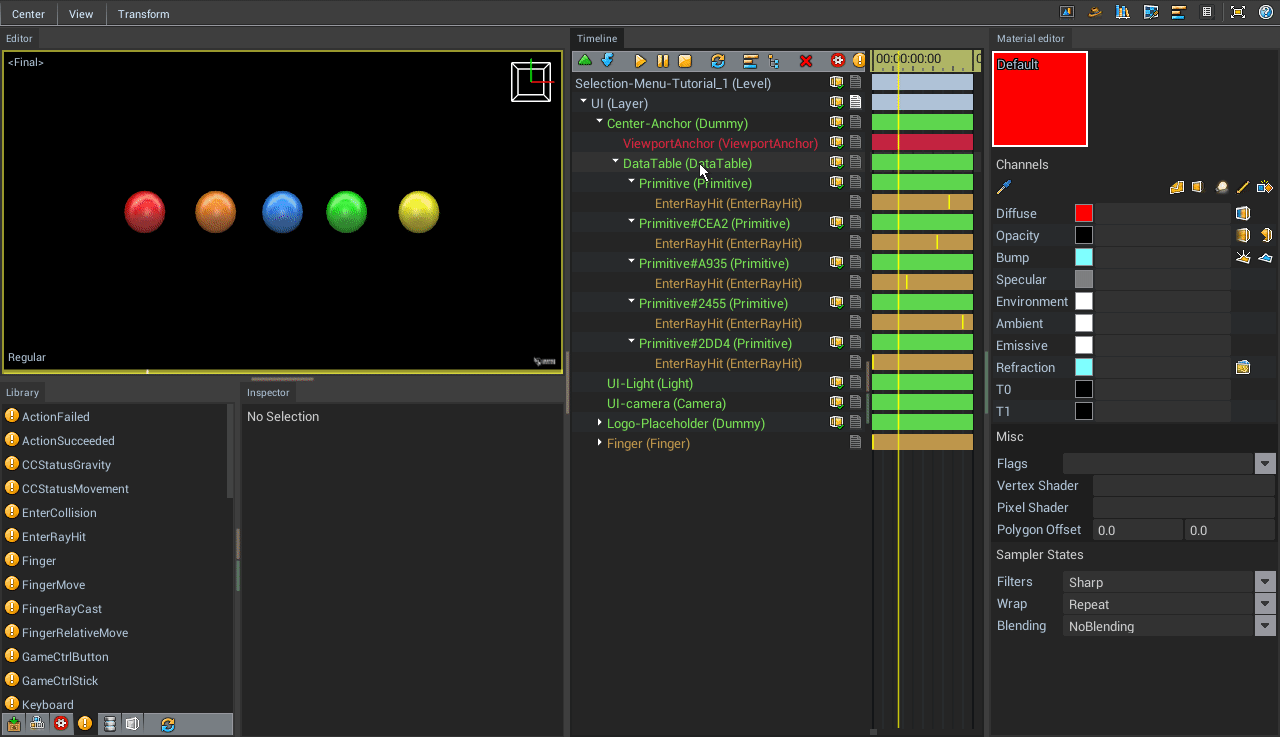
It's time to make the buttons interactive.
- First, let's make the buttons clickable by Drag & Dropping the EnterRayHit event onto each button.
The EnterRayHit event allows entities to detect clicks and is triggered every time a click is detected. So now, all of the Primitives are clickable but we need to specify what happens when they are clicked.
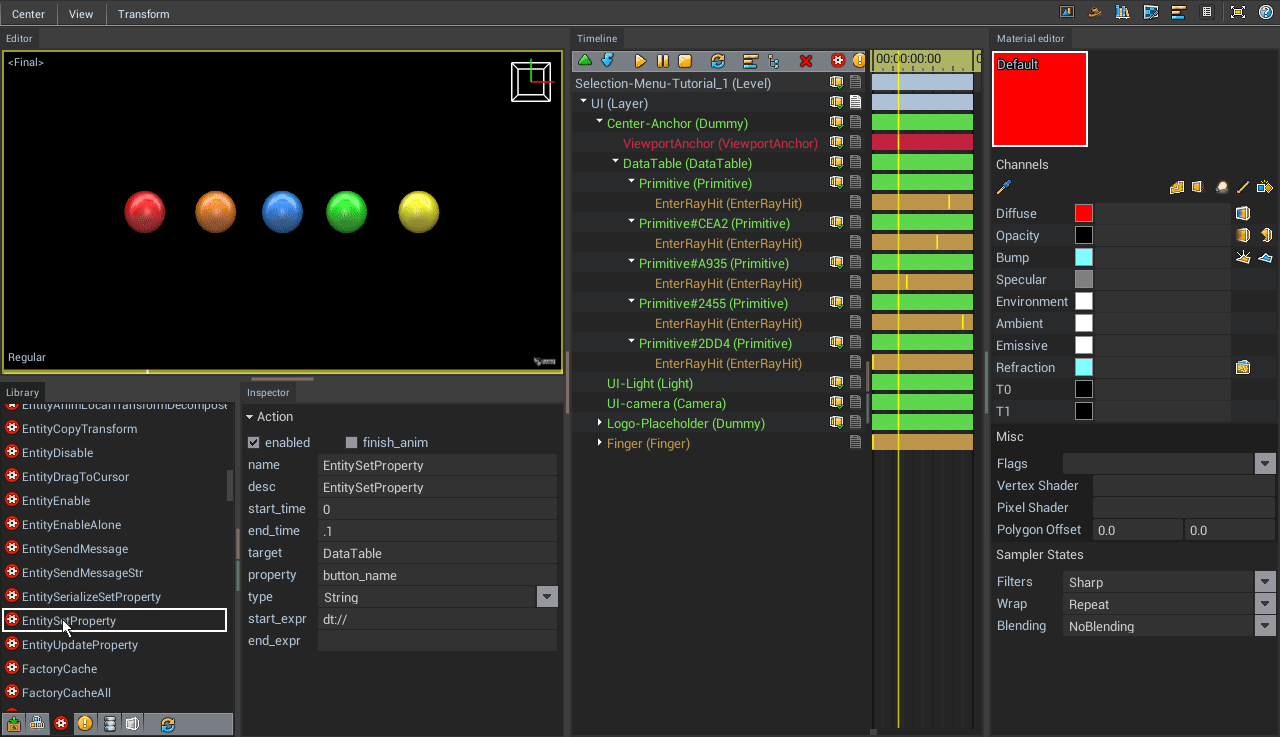
Before we proceed, we need to create a property in the DataTable that will store the buttons when they are clicked.
- Select the DataTable and click on the + icon at the bottom right of the inspector.
- A dialog box will ask you to choose a name for the property. You can name the property with the name of your choice but in this case we'll name it buttom_name.
The interaction we'll create will store the name of the clicked button into the button_name property of the DataTable.
- Drag & Drop the EntitySetProperty Action into one of the EnterRayHit Event
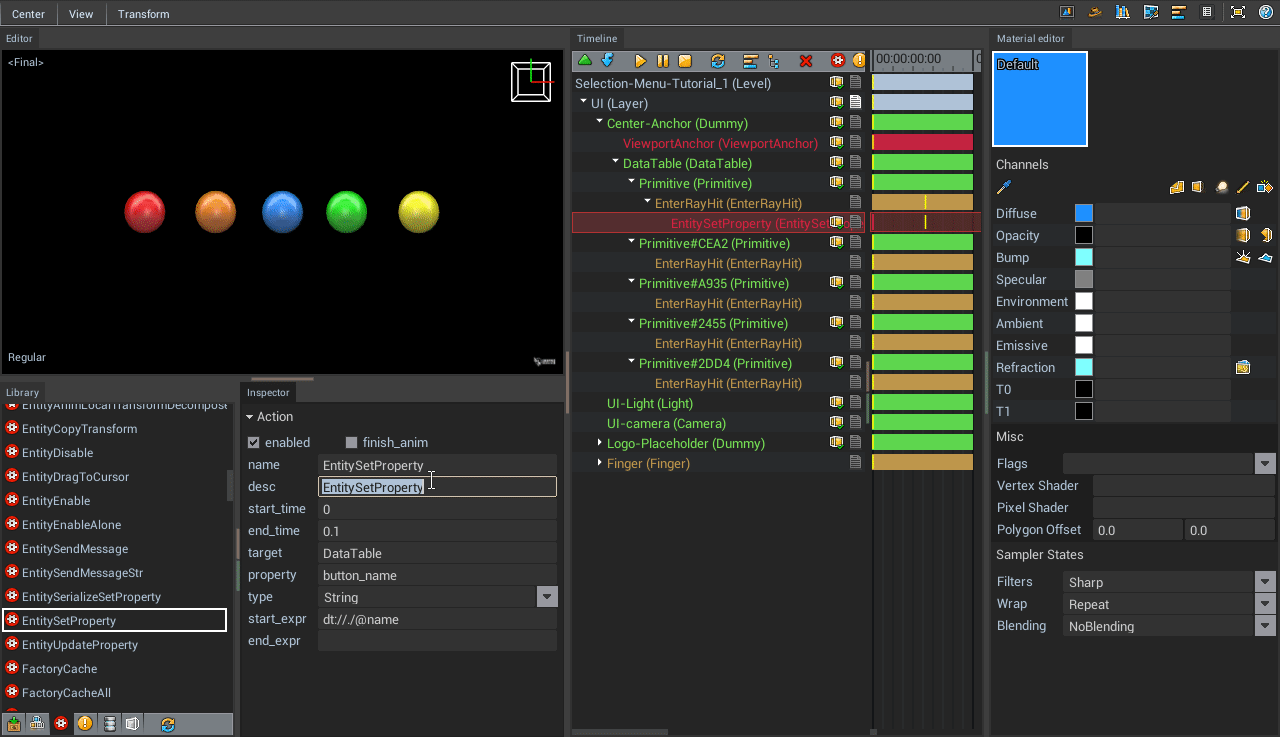
- Set end_time Property to 0.1 seconds
- Drag & Drop the DataTable into the Target field
- Set the property to button_name
- Set the type to String
- In the start_expr field, type in the following expression: dt://./@name
- Let's rename the description of the action by editing the desc field. In this case we'll call it Set-Name
- Copy & Paste this action into the all of the EnterRayHit Events
- Hit the Play icon or press CTRL + Spacebar & Select the DataTable in the timeline
 Now every time we click on a button, the EntitySetProperty action is going to write the name of the clicked button into the button_name property of the DataTable. In other words, the DataTable knows which button the user has clicked.
We are now going to create a rule to define what happens when the button_name value of the DataTable changes.
- First let's create a new Primitive with a Plane shape.
- Let's make it Relative and scale it down to 0.6.
- We can also add a PNG texture of a circle to make it stand out. Click on the Translucent & No Lighting flags in the Material Editor.
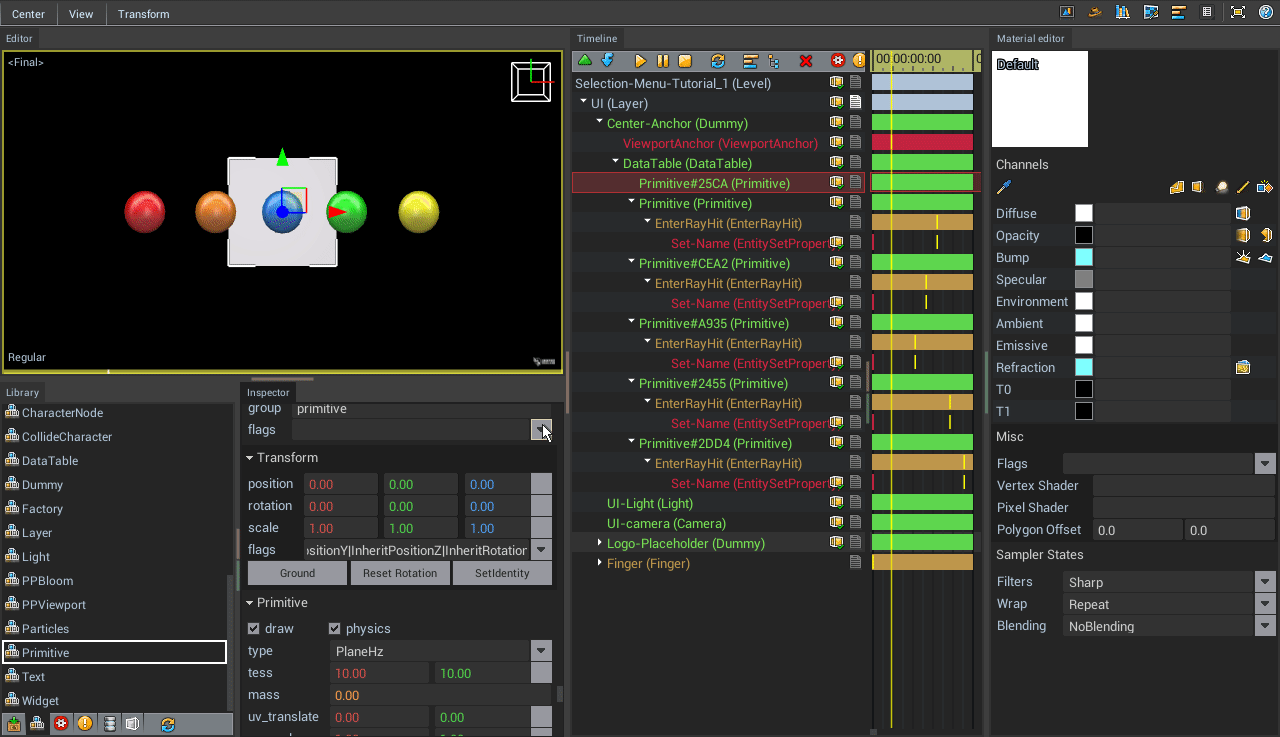
All that's left to do is to move this Primitive with the white circle texture at the location of the button that was clicked.
To achieve this, let's create a PropertyChanged event into the DataTable.
- Set the Property to button_name
- Set the Type to String
- Delete the Value field
- Set Compare to Always
 The PropertyChanged event will always be triggered when the button_name property of the DataTable changes.
Now let's define what happens when the PropertyChanged event is triggered.
- Drag & Drop the AnimMoveTo action into the PropertyChanged event
- Drag & Drop the Primitive with the white circle texture into the target
- Set the dest to dt://./@button_name
- Set the spring_s value to 250
- Set the end_time to 1 second
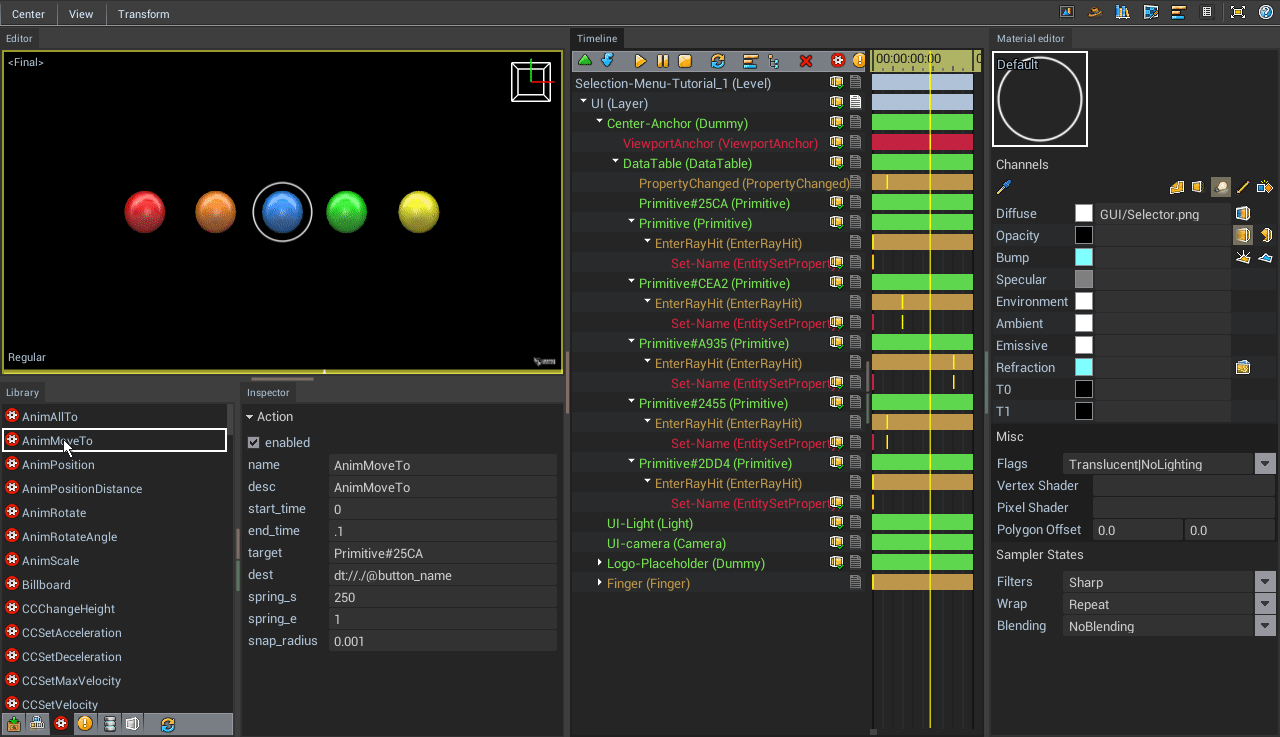
Now, every time you click on a button, the white circle will automatically move to the position of the clicked button